Connect your Google account to securely access Gmail and email-related data for seamless communication and workflow automation.
Overview
The Google datasource allows you to connect your Google account securely using OAuth 2.0 authentication. Once connected, you can access Gmail data you authorize and manage email communication more efficiently.
How to Connect Google
Follow these steps to connect your Google account:
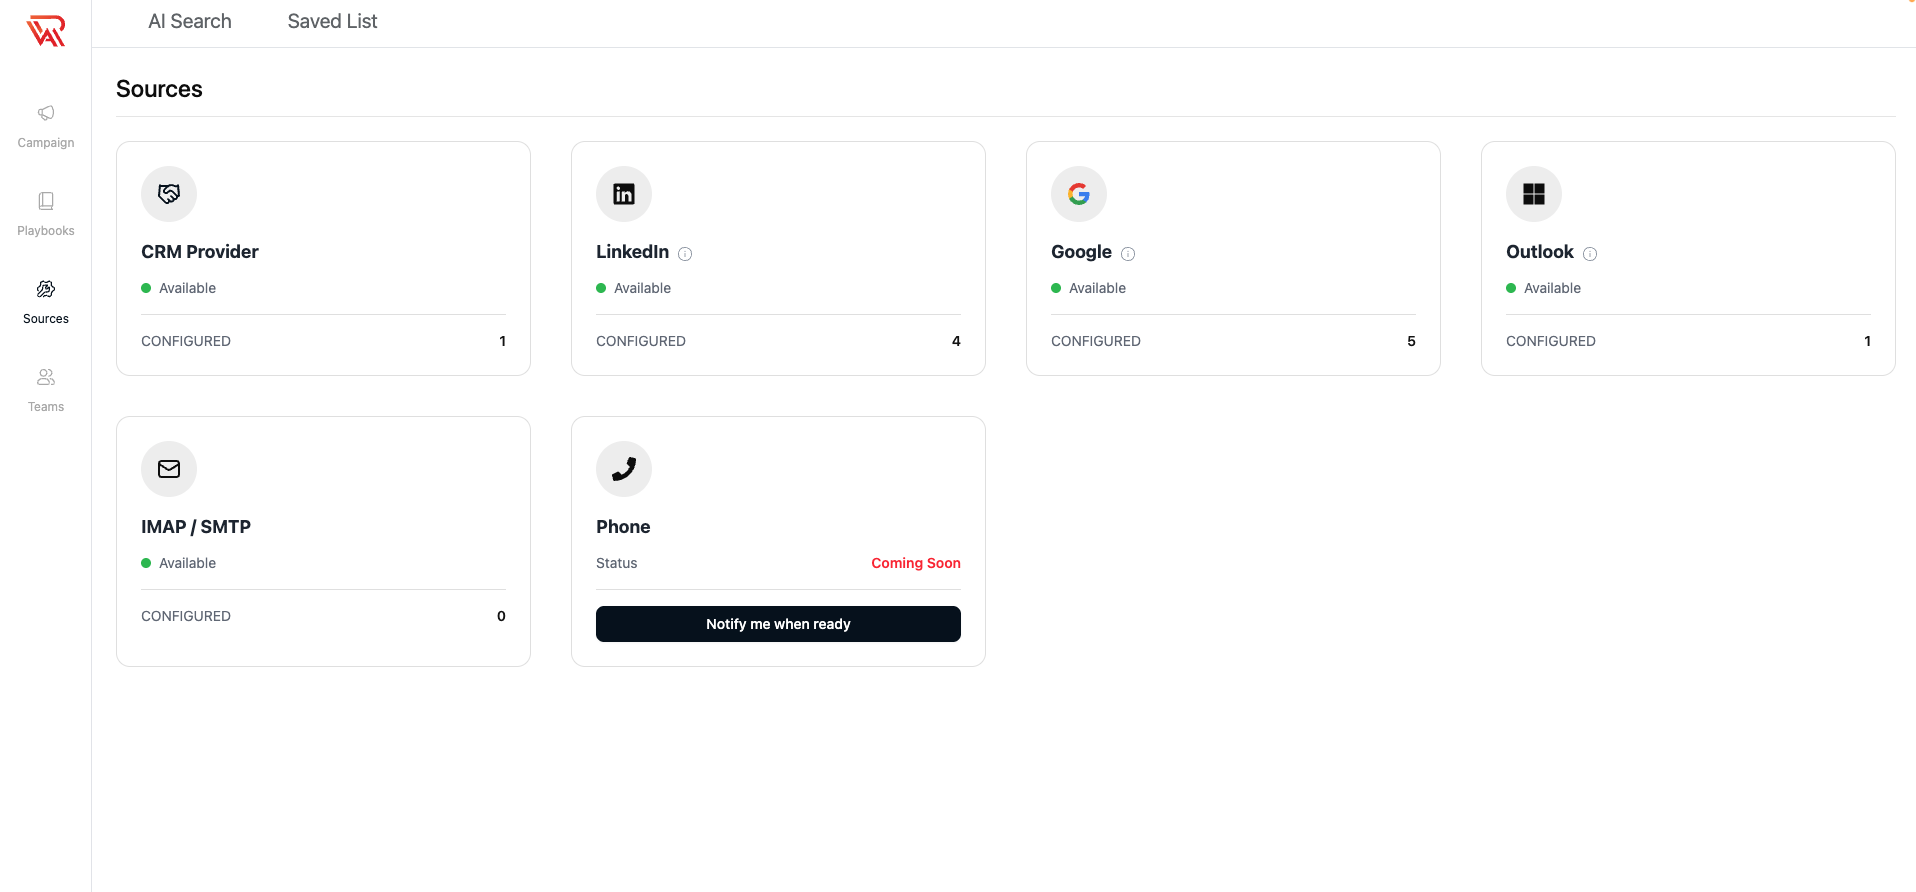
Step 1: Navigate to Connectors
- Open the Ragworks dashboard.
- In the left sidebar, click Connectors.
- Select Google from the available options.
Step 2: Add a Google Account
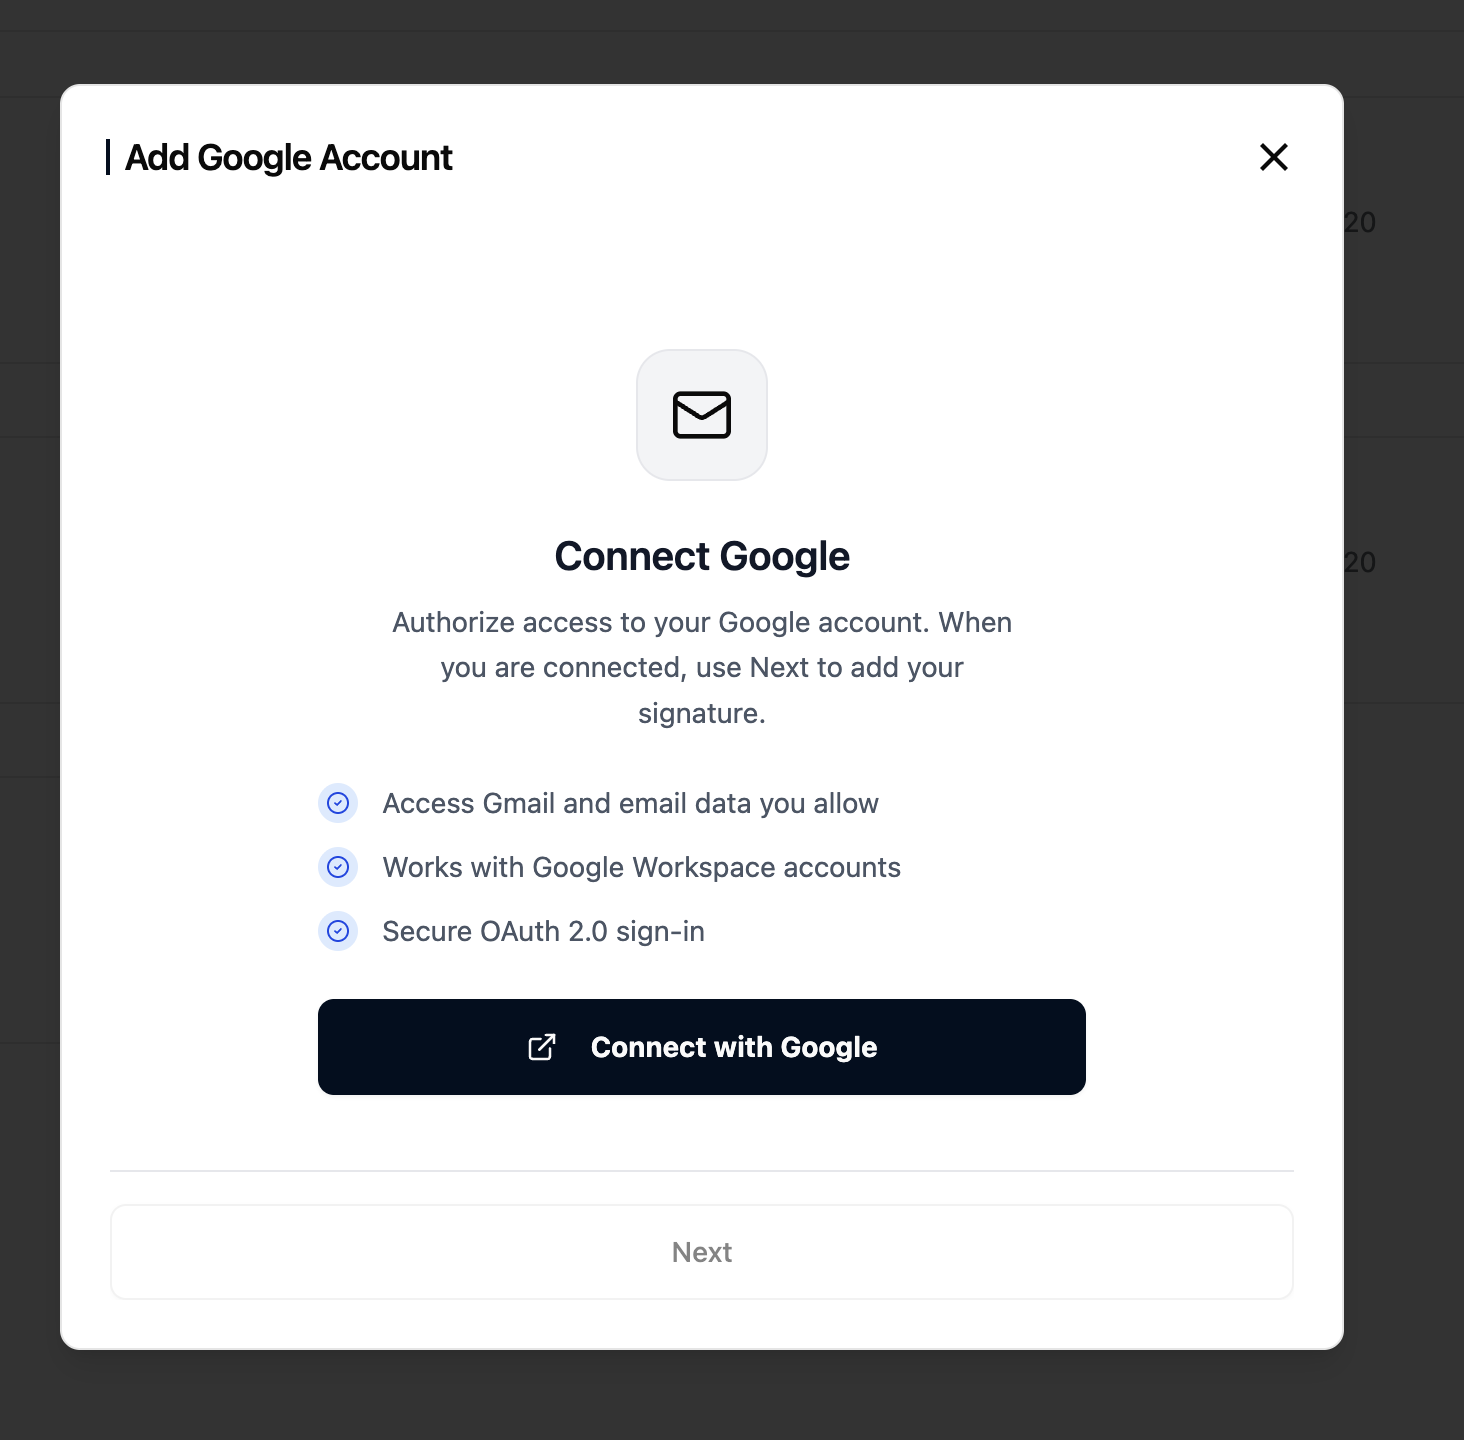
- On the Google page, click Add Account.
- A popover will appear with the following features:
- Access Gmail and email data you allow
- Works with Google Workspace accounts
- Secure OAuth 2.0 sign-in
- Click Connect with Google.
Step 3: Authenticate with Google
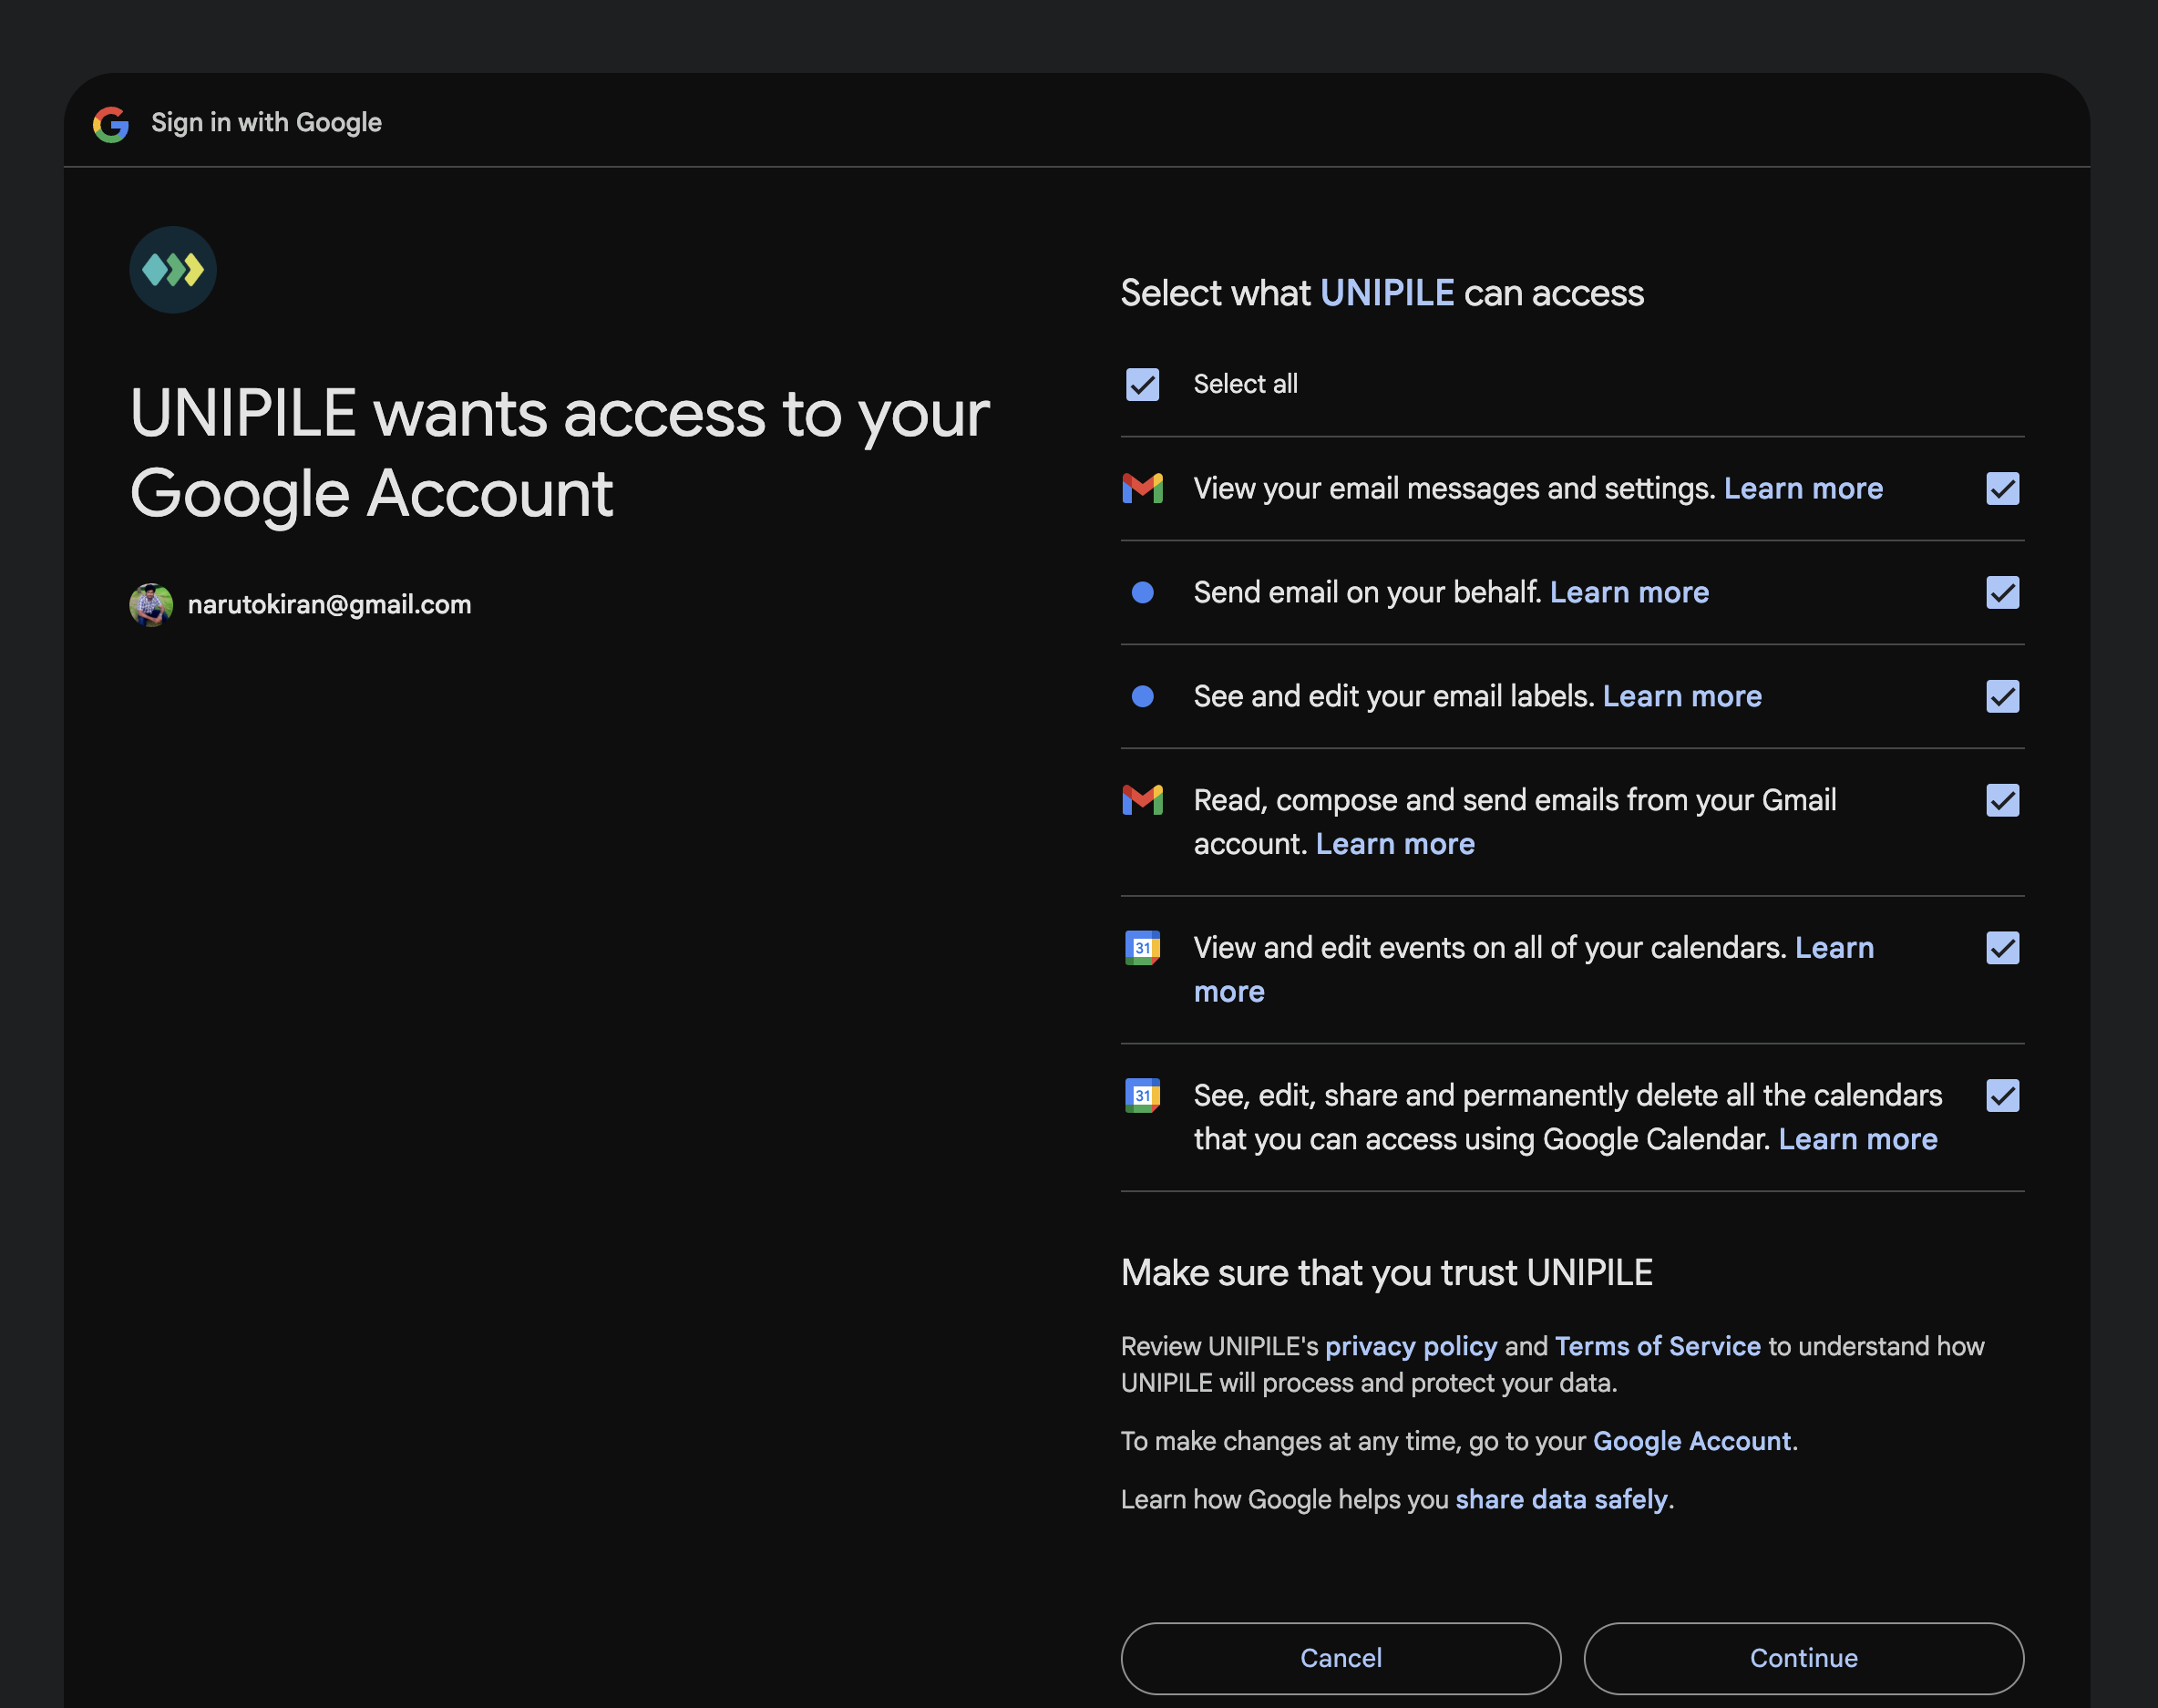
After clicking Connect with Google, a new authentication page will open.
You will see a screen similar to:
Choose an account
- Select an existing Google account from the list.
- Or click Use another account to sign in with a different Google account.
- Review the required permissions and continue.
- Complete the secure OAuth authentication process.
Before continuing, you may review the privacy policy and terms shown on the permission screen.
Step 4: Complete the Connection
Once authentication is successful:
- Return to the platform automatically.
- Click Next to continue the setup process.
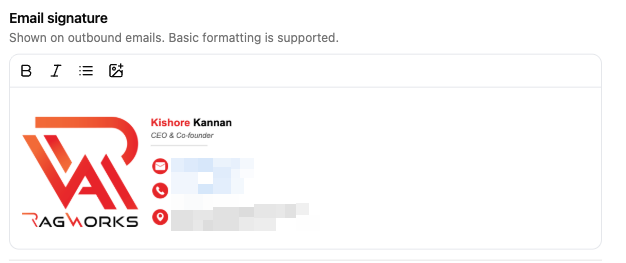
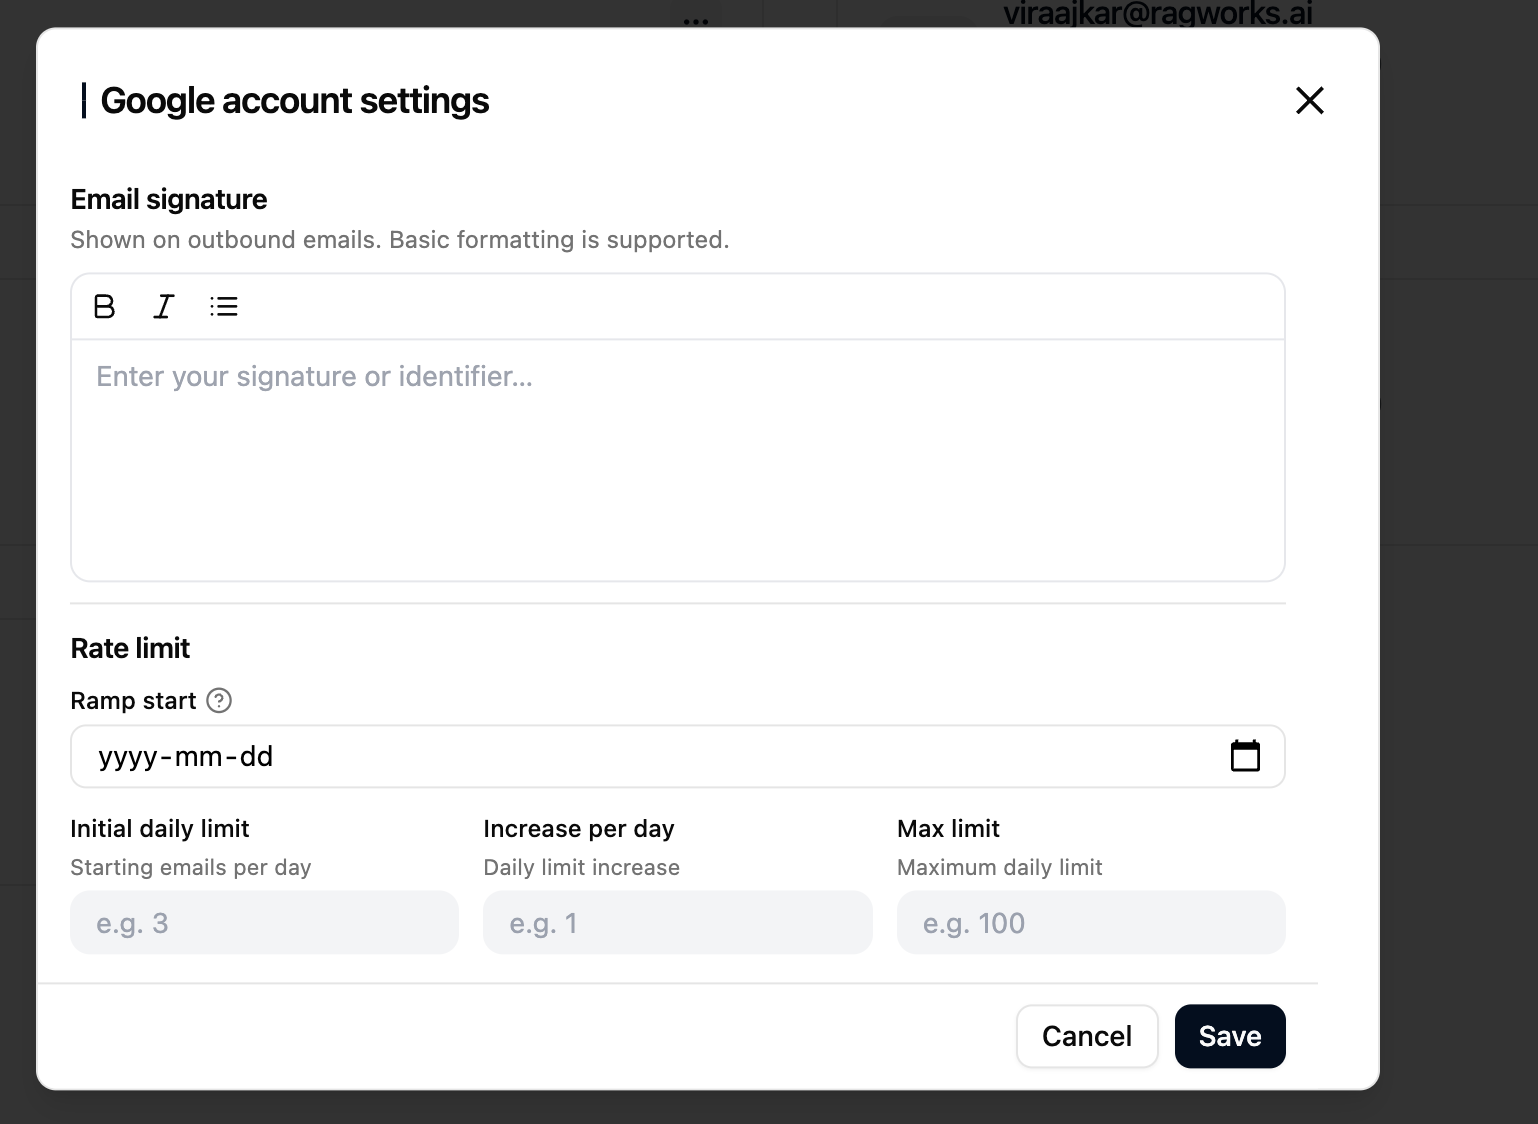
- Add your signature if required. You can upload a signature image up to 10 MB.
Sender profile
Under the signature, Sender profile takes the link to your public LinkedIn profile. Ragworks reads the schools on it, so a message can open on a school you share with a lead. See Sender profile.
Email Ramp-Up Settings
The rate limit settings help gradually warm up your email account and control the number of emails sent each day. This helps improve deliverability and reduces the risk of email providers flagging your account for unusual activity.
Ramp Start
For new email accounts or recently connected inboxes, we recommend starting with a low sending volume and increasing gradually over time.
The date when the email warm-up process begins.
From this date onward, the platform will gradually increase your daily sending volume based on the limits configured below.
Initial Daily Limit
The number of emails that can be sent on the first day of the ramp-up process.
Example:
- If the initial daily limit is set to
10, the account will send up to 10 emails on Day 1.
Increase Per Day
The number of additional emails added to the daily limit each day.
Example:
- Initial limit:
10 - Increase per day:
5
Daily sending progression:
- Day 1 → 10 emails
- Day 2 → 15 emails
- Day 3 → 20 emails
- Day 4 → 25 emails
This gradual increase helps build sender reputation safely.
Max Limit
The maximum number of emails the account can send per day.
Once the ramp-up process reaches this limit, the daily sending volume will stop increasing.
Example:
- Max limit:
50
If the calculated daily limit exceeds 50, the platform will continue sending a maximum of 50 emails per day.
Recommended Best Practices
Avoid setting very high limits immediately on newly created email accounts. Sudden spikes in email activity may negatively affect deliverability.
| Account Type | Suggested Initial Limit | Increase Per Day | Max Limit |
|---|---|---|---|
| New Email Account | 5–10 | 2–5 | 30–50 |
| Moderately Aged Account | 15–25 | 5–10 | 75–100 |
| Established Sending Account | 25–50 | 10–20 | 150+ |
Reconnect deactivated account
You can see status of the source which requires reconnecting in the source card view.
- Select triple dots (...) of the google source you would like to reconnect.
- Select reconnect icon
 . This will take you to the credentials page.
- Follow the login procedure and reconnect your source successfully.